Updating patient records using file export and upload
A walk through with screenshots of how to use the reporting and file submission functions in CAP-AT to update patient records.
Export Current Patients report
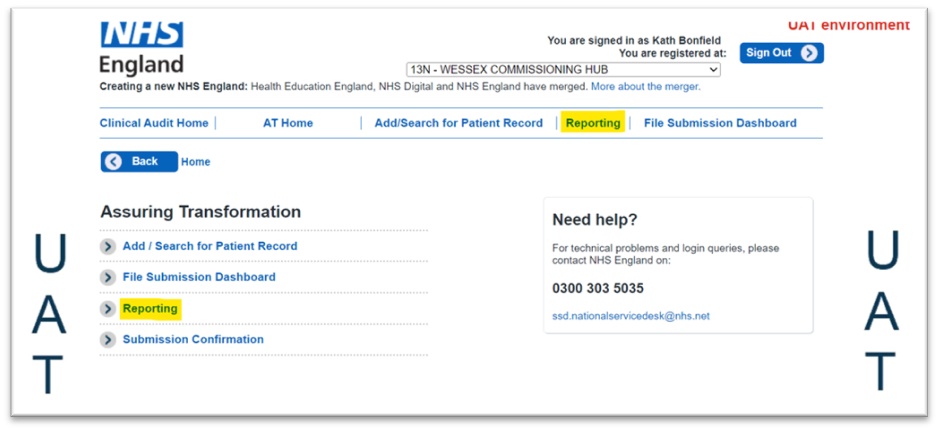
Select Reporting from the AT Home page or the main menu bar.
Select Extract Reports.
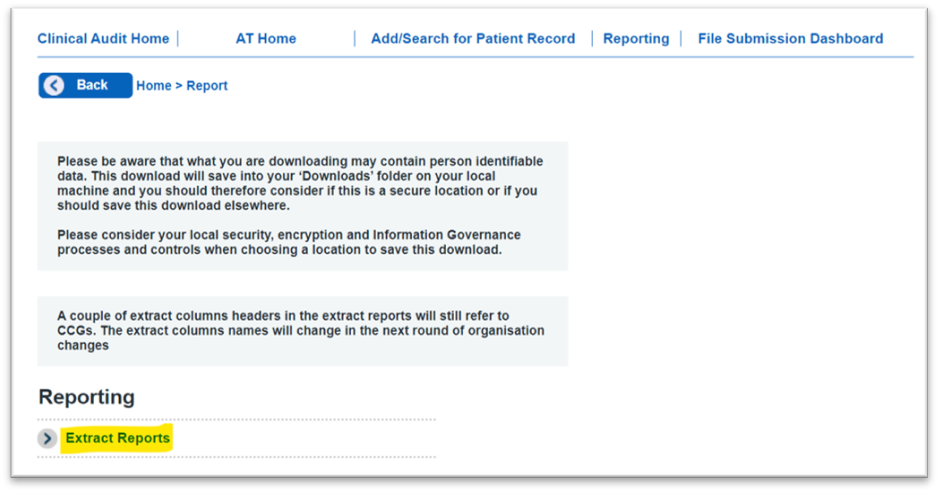
Please note the information on this screen – when saving downloaded patient extracts be aware of the personal identifiable data held in these files and save in an appropriate location.
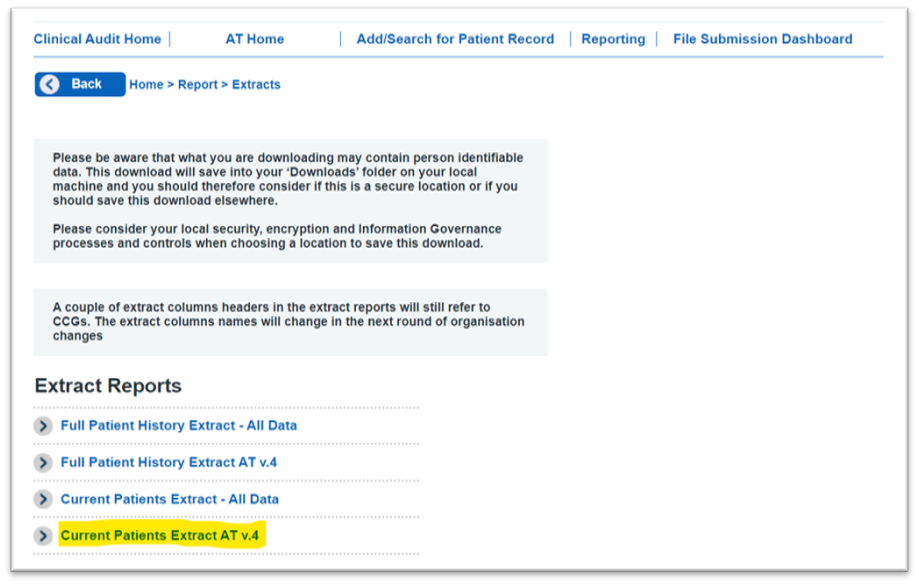
Choose Current Patients Extract AT v4.
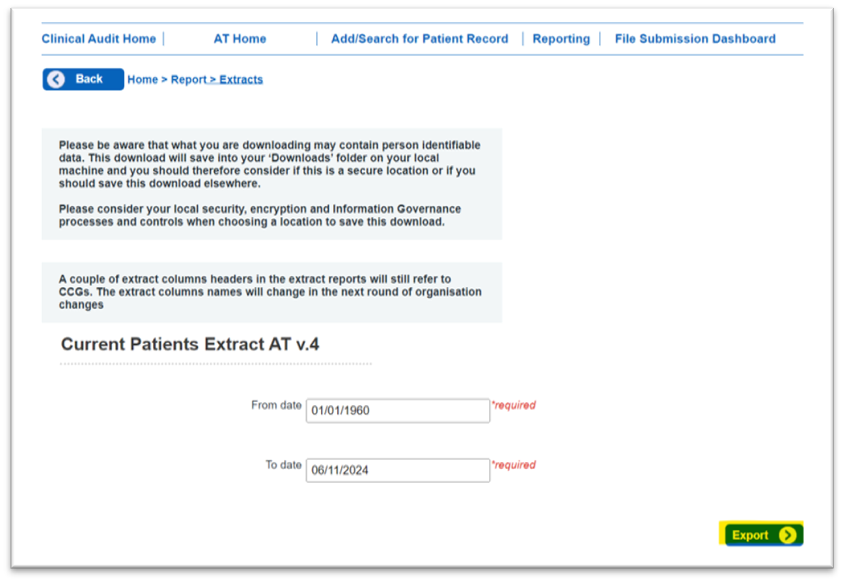
The 'from' date relates to the date of admission of the patient, so if you amend this date not all your current patients may appear in the report.
Select the Export button.
Open the extract file from your Downloads window.
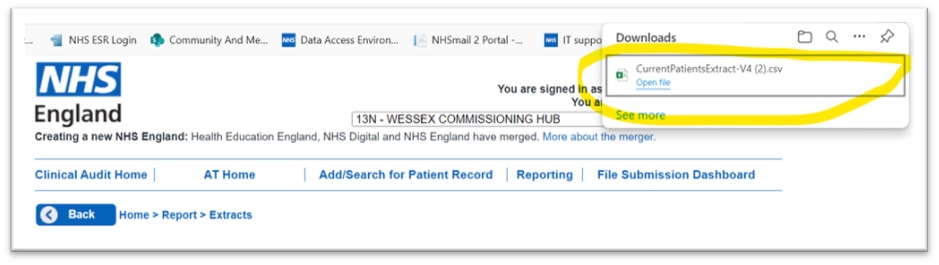
Edit the file to update fields as required
Save the extract as a csv file with a filename in the format Patient_filename.csv in an appropriate location.
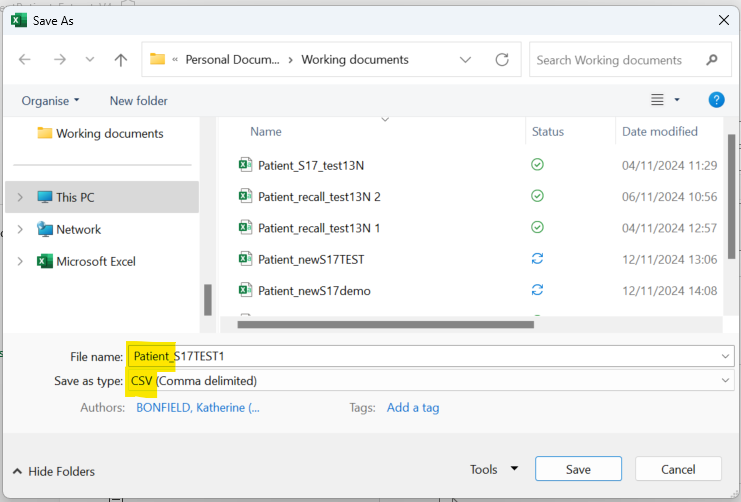
All files for upload must:
- be in the appropriate format such as a Current Patients extract AT v.4 file or the upload template which is available on the AT webpage
- be in CSV format
- have a filename starting Patient_ or patient
When you upload the file, it will attempt to upload each record and will show whether each record has updated successfully.
Please note that, although you may be looking to update only specific fields, the upload process will apply all the validations for updating a record and upload will fail if there are issues such as:
- fields that were introduced in AT v4 that have not been completed
- gender identity code has not been updated to a valid v4 value
- date of next scheduled C(E)TR is in the past
If there are patients in the file that do not require any changes, you can delete these rows from the file before upload and the records in CAP will be unchanged. Alternatively you can leave these records in the file and if they upload successfully the data will remain unchanged.
Update the relevant fields
Gender fields in the patient level record
Check that the Gender fields Q3a and Q3b contain valid v4 codes (Q3a should be 1, 2, 3, 4, X or Z, Q3b should be Y, N, X or Z).

If not, update these fields to the appropriate valid code before proceeding. CAP is case sensitive, so codes must be entered in correct case, for example Y not y.
Fields in the episode level record
Update other fields as required with the latest information for the patient. Refer to the AT summary guidance from our guidance section to ensure you use the appropriate valid code.
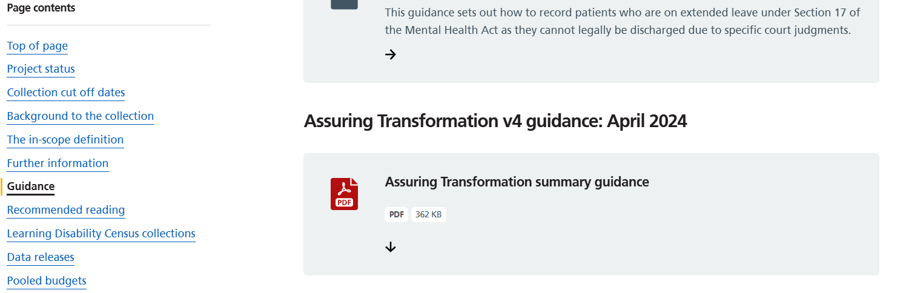
When all edits are complete, ensure you resave the edited version of the file, with the same name.
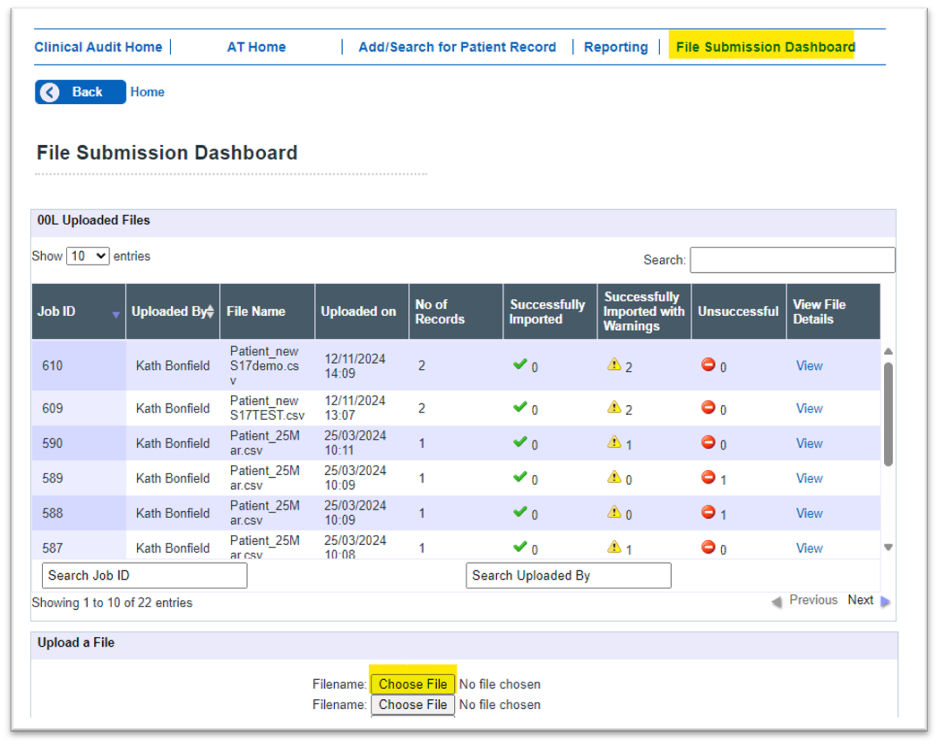
In CAP AT, go to the File Submission Dashboard and click on Choose File.
In the dialog box, select your prepared file and click Open.
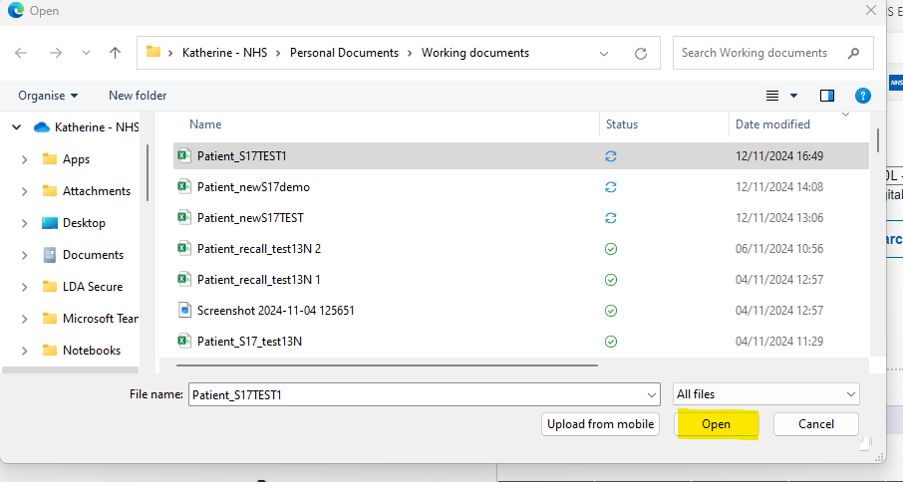
Click Upload.
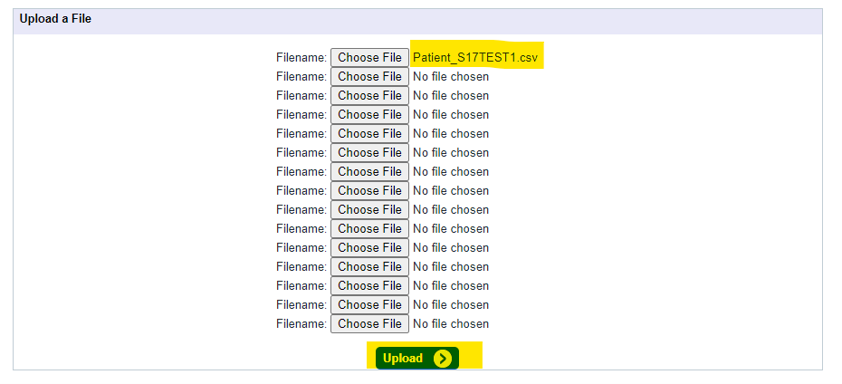
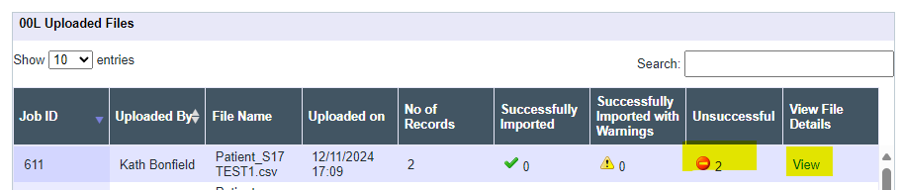
The dashboard will show how many records have been included and how many uploaded successfully. If the upload was unsuccessful, or if there are warnings, you can click on View to identify the issues.
Uploads will often generate warnings, for example where RI data has not been entered in the record, or when updating a record so locked fields are already populated. These warnings can be ignored. However, if the upload was unsuccessful you will need to correct the error (in this example the value in Q31) before re-trying the upload.
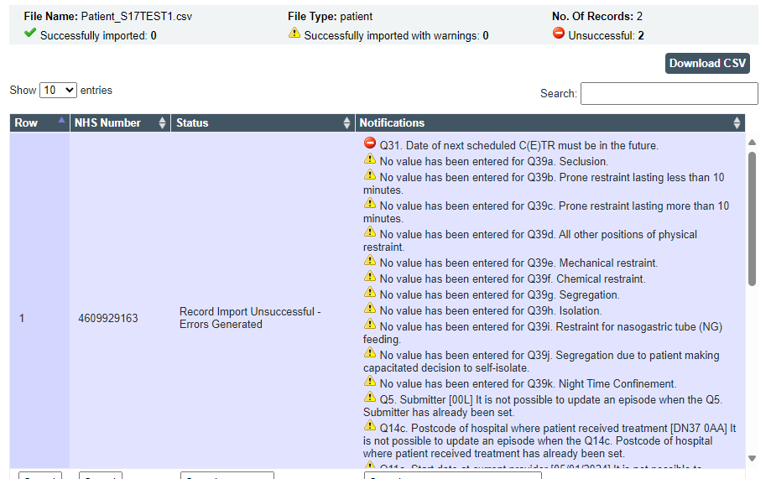
Edit the relevant field(s) in the file, re-save, and repeat the upload process.
Once the records have uploaded successfully you can check a record within the user interface. Return to Add/Search for Patient Record and enter the NHS number and Date of Birth for the patient. In the record tree select the open record (at the bottom of the list) and click Edit Record to review the new entries.
Last edited: 28 September 2026 9:59 am